The Idiot installs Windows 10 on Proxmox
A fool-proof guide on how to install a Windows 10 VM on Proxmox VE the right way, using VirtIO drivers.
A (hopefully) fool-proof guide on how to install a Windows 10 installation on Proxmox VE. The right way.
Given
- A Windows 10 ISO — need one? Use the Media Creation Tool
- A stable VirtIO ISO
- A working Proxmox VE installation
Instructions
-
Upload both the Windows 10 and VirtIO ISOs to your node’s local storage.
-
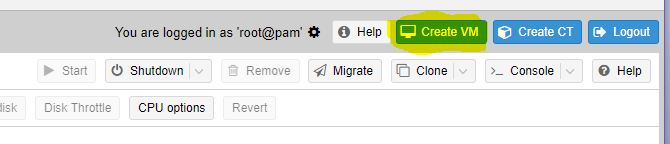
Click Create VM.
-
Assign a VMID and Name, click Next to go to the OS tab.
-
Select Windows 10/2016, click Next to go to the CD/DVD tab.
-
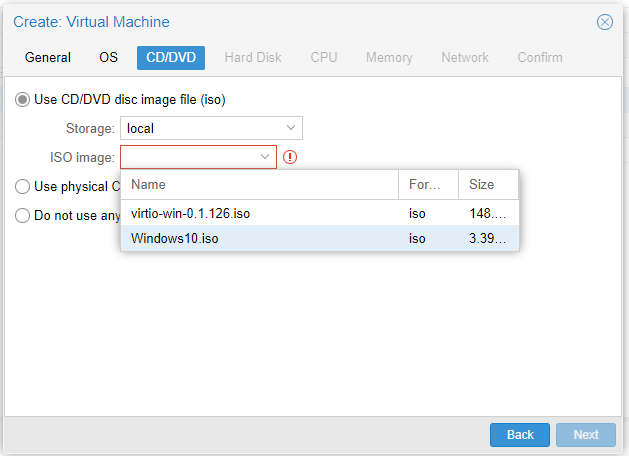
Select your Windows 10 ISO, click Next to go to the Hard Disk tab.
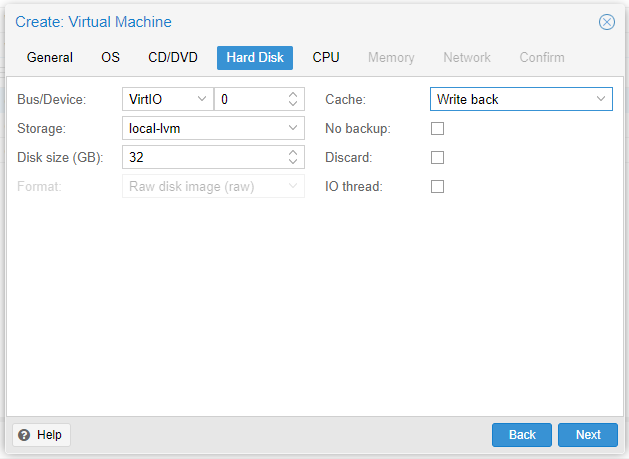
- Choose VirtIO as your Bus. Specify your storage location and size. Minimum storage is 16 GB for 32-bit or 20 GB for 64-bit. Under Cache, select Write back (increases performance, slightly riskier). Click Next to go to the CPU tab.
-
Assign sockets and cores as your environment permits. 2 cores and 2 sockets is often optimal. Enable NUMA. Click Next to go to the Memory tab.
-
Assign RAM as needed. Minimum is 1 GB for 32-bit, 2 GB for 64-bit. Click Next to go to the Network tab.
-
Select VirtIO (paravirtualized) as the Model. All other settings are subject to your environment. Click Next to go to the Confirm tab.
-
Confirm all settings and click Finish.
-
After your new VM appears on the left, go to its Hardware settings.
-
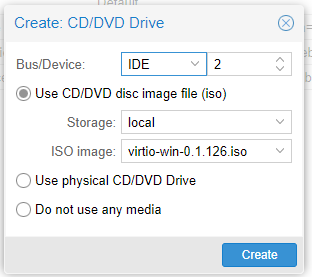
Add a second CD/DVD drive and select the VirtIO ISO as the image.
-
Boot the VM and open the console.
-
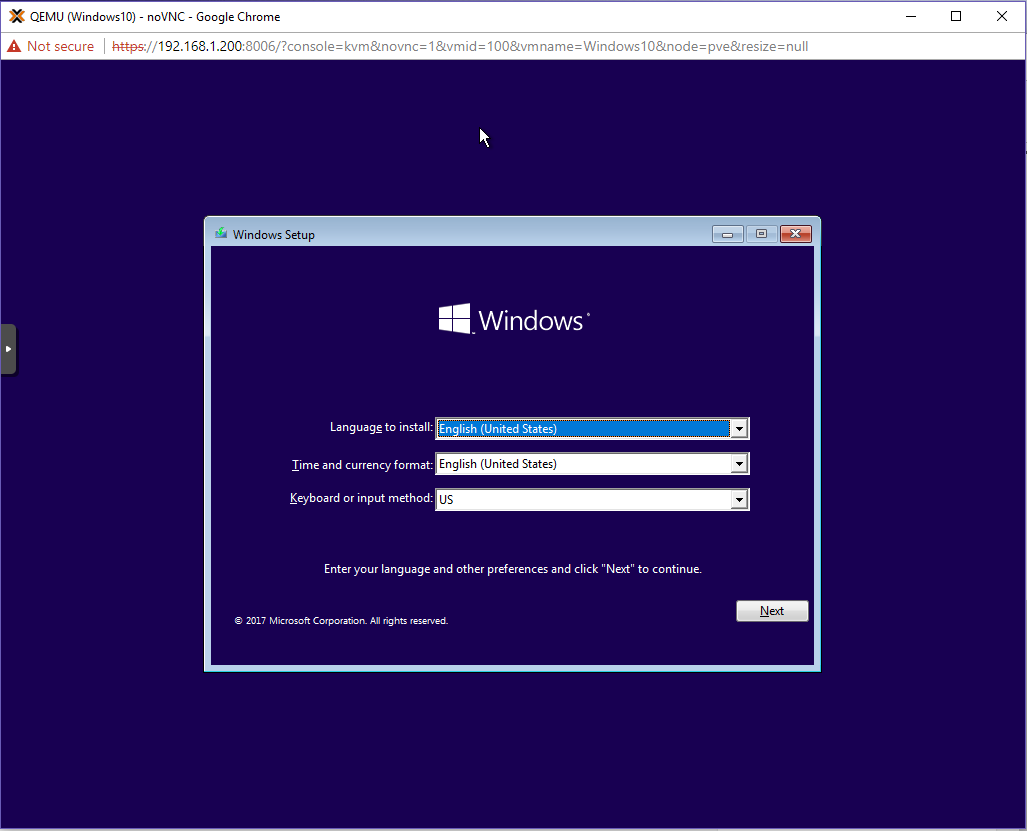
The VM should boot from the Windows 10 ISO.
-
Proceed with the installation as normal. When you reach “Which type of installation do you want?”, select Custom: Install Windows only (advanced).
-
You’ll get a notice that Windows can’t detect a hard drive due to missing storage drivers.
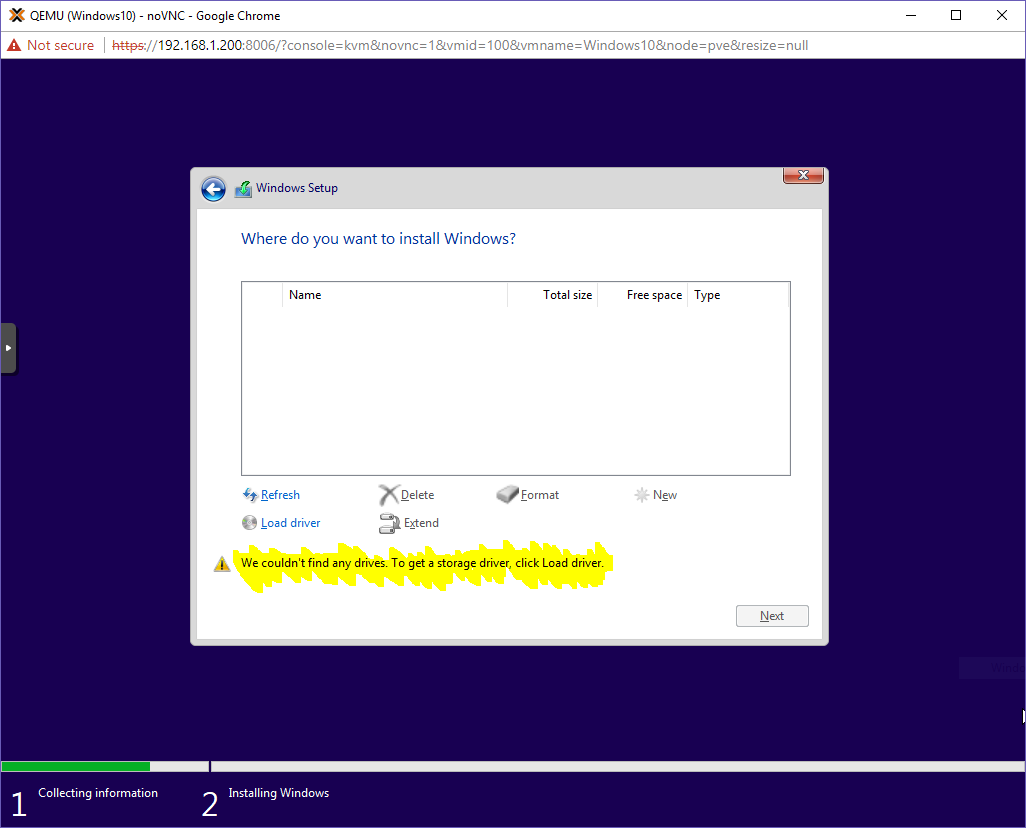
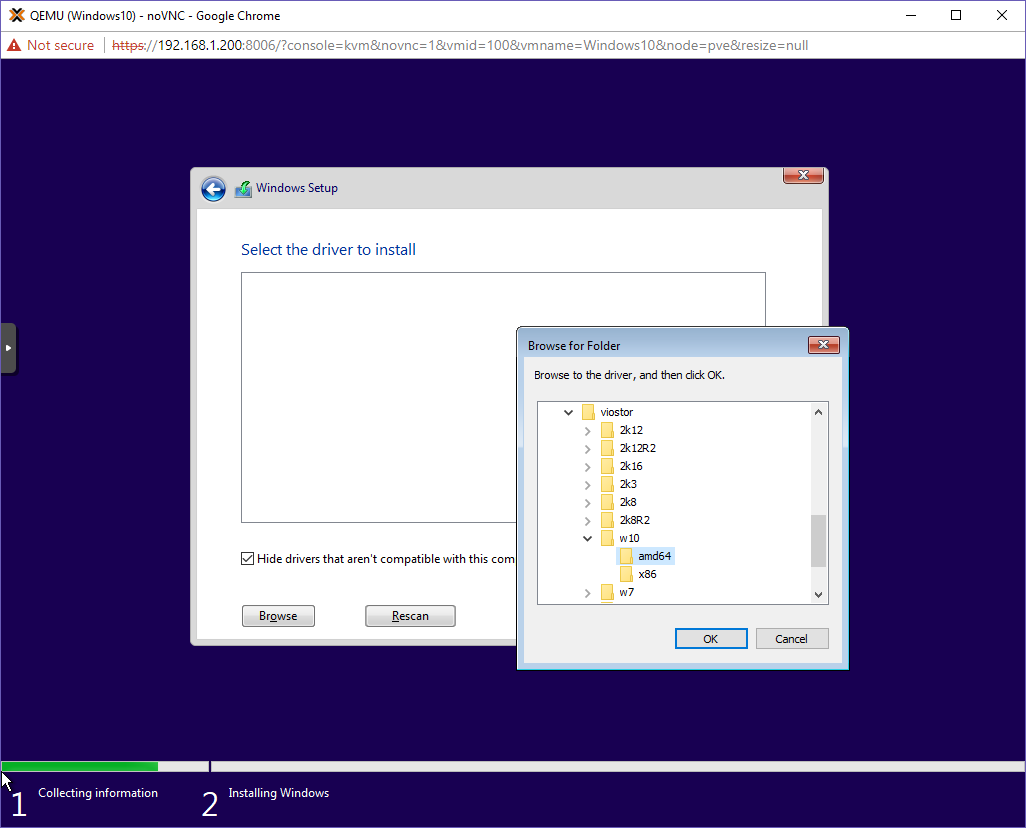
- Select Load Driver, then browse to the VirtIO CD. Drill down to
viostor > w10 > amd64and click OK.
-
Windows will detect the Red Hat VirtIO SCSI controller driver. Click Next. The hard drive will now appear. Partition the drive as you see fit, or just click Next.
-
Windows will begin the installation process. Depending on your environment, this may take a few minutes.
-
The installation will reboot. At this point you may remove the Windows 10 ISO (or the entire CD/DVD drive) via the Hardware tab in Proxmox — but keep the VirtIO ISO. You’ll need it for networking and memory balloon drivers.
-
Continue setting up Windows. When the “Connect to a network” screen appears, there will be no options available. That’s expected.
-
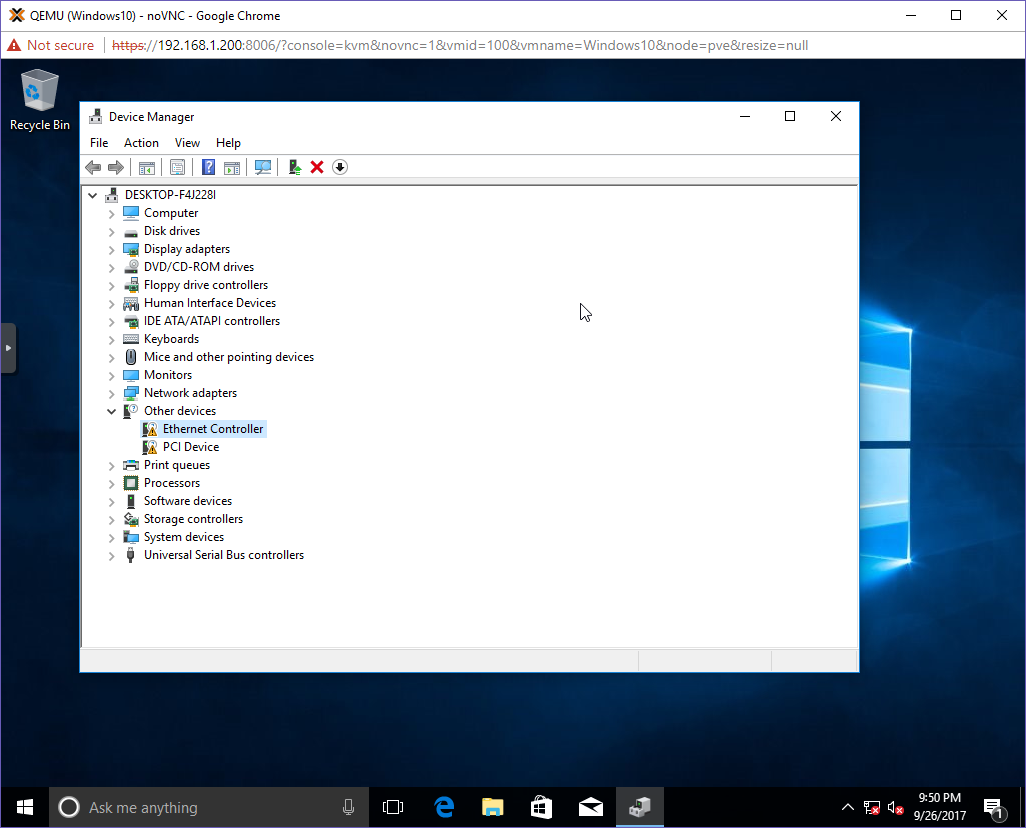
Once you have a desktop, open Device Manager. You’ll see two devices with missing drivers: the Ethernet Controller (VirtIO Network Card) and a PCI Device (Memory Ballooning).
-
Update the Ethernet Controller driver: navigate to the VirtIO CD, drill down to
NetKVM > w10 > amd64, and click OK. Windows will install the Red Hat VirtIO Ethernet Adapter. Your VM should now have network access. -
Update the PCI Device driver: navigate to the VirtIO CD, drill down to
Balloon > w10 > amd64, and click OK. Windows will install the VirtIO Balloon Driver. -
You can now remove the VirtIO CD (or the CD/DVD device) in the VM’s Hardware tab on the Proxmox GUI. Note: you can detach the ISO immediately; removing the device requires a VM shutdown.
That’s it — you have a fully functional Windows 10 VM running on Proxmox with proper VirtIO drivers.