The Idiot installs the QEMU Guest Agent on a Windows 10 VM
How to install the QEMU Guest Agent on a Windows 10 VM running in Proxmox, and why you'd want to.
This should arguably be folded into a full Windows 10 on Proxmox guide, but it’s useful enough to stand on its own.
What is the QEMU Guest Agent?
Straight from the libvirt documentation:
It is a daemon program running inside the domain which is supposed to help management applications with executing functions which need assistance of the guest OS. For example, freezing and thawing filesystems, entering suspend.
In plain terms: it lets Proxmox communicate more deeply with a running VM. Notably, it enables proper startup and shutdown behavior from the Proxmox UI.
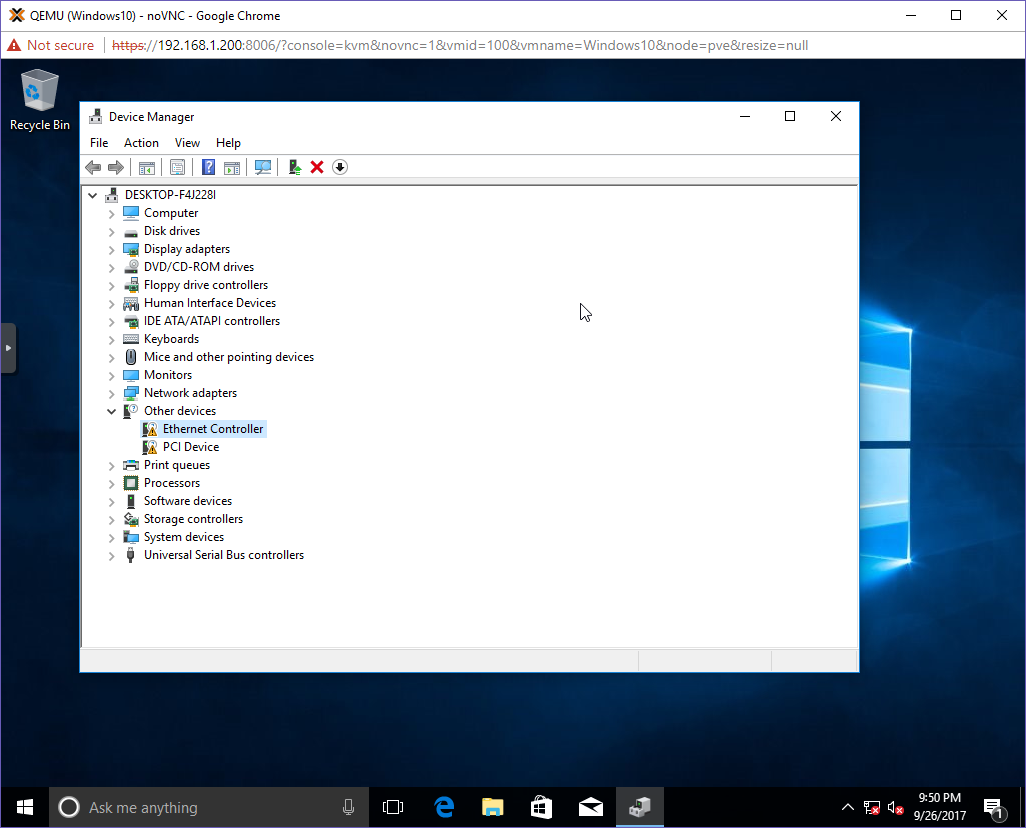
How to Install It
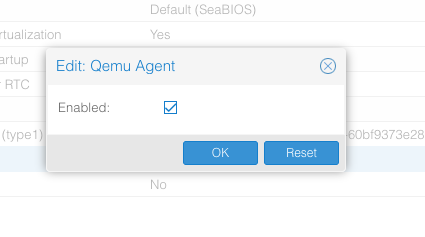
- With the VM shut down, go into the VM’s Options tab in Proxmox.
-
Enable the QEMU Guest Agent checkbox and click OK.
-
Start the VM.
-
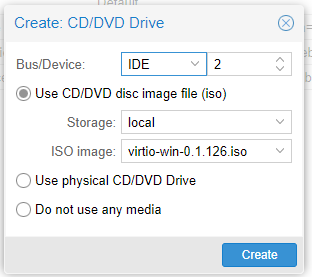
Inside the VM, manually install the vioserial drivers from the VirtIO ISO image.
-
From the same VirtIO image, install the guest agent:
guest-agent/qemu-ga-x86.msiNote: The x86 version has proven more reliable than the x64 in my experience.
-
Reboot the OS from within the VM.
-
After logging back in, open Services.msc. You should see the QEMU Guest Agent listed as a service. If it isn’t started, start it manually.
If all goes well, Proxmox will now report the VM’s IP address and respond properly to shutdown commands. Small change, big quality-of-life improvement.